Contact ITS Support
Know the rules
All NAU employees and students should read and be familiar with the Appropriate Use of IT Resources policy. Information Technology Policy Manual
OWA 2016: People
Working with People in OWA 2016
Working with contacts
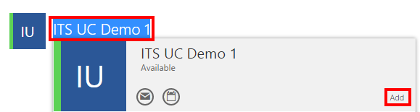
Adding a Contact from an Email Accordion Closed
Step 1
Select the email from the contact that you want to save.
Step 2
Select the Name of the contact from the email header. Select “Add”.
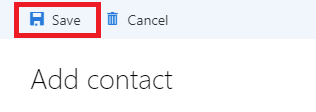
Step 3
A Contact Information window will open. Select “Save”. You may also modify the information and then select “Save”.
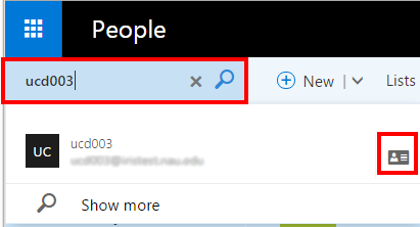
Search Contacts Accordion Closed
Step 1
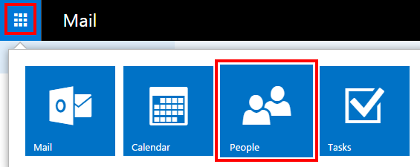
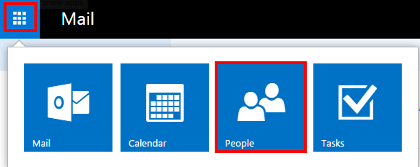
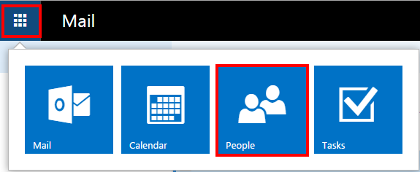
Select the menu button from the upper-left of the Outlook Web App. Select “People”.
Step 2
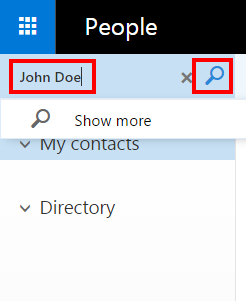
Type the name of the contact into the search bar. Select the magnifying glass to search.
Adding a New Contact Accordion Closed
Step 1
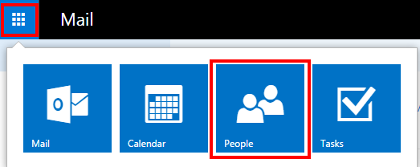
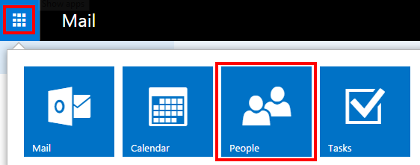
Select the menu button from the upper-left of the Outlook Web App. Select “People”.
Step 2
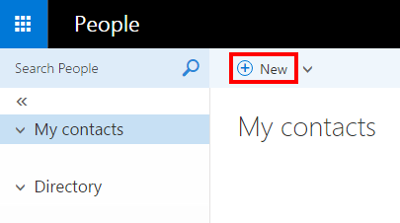
Select the “New” option above contacts.
Step 3
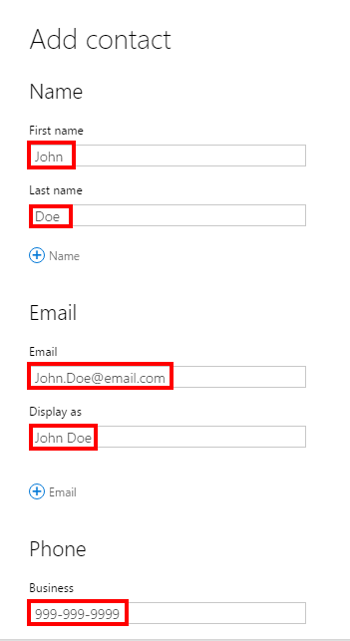
On the Add Contact screen that appears, type in the basic information. The “First Name”, “Last Name”, “Email”, “Display As”, and “Phone”.
Step 4
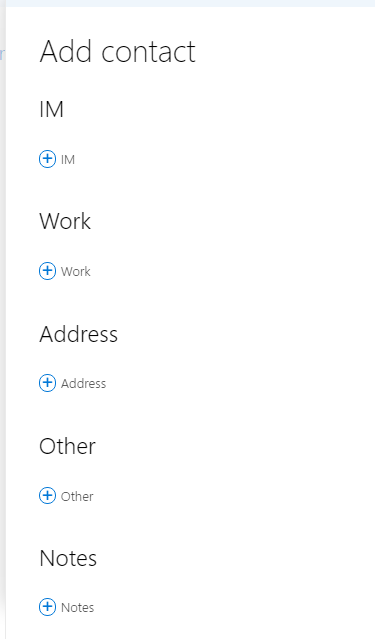
Scroll down and use the Plus Sign to fill out any other extra information.
Step 5
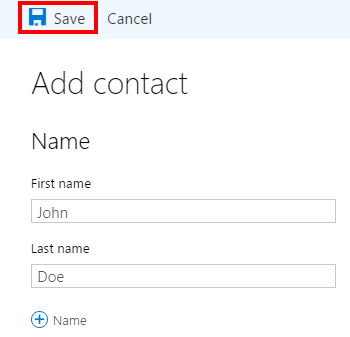
Select “Save” .
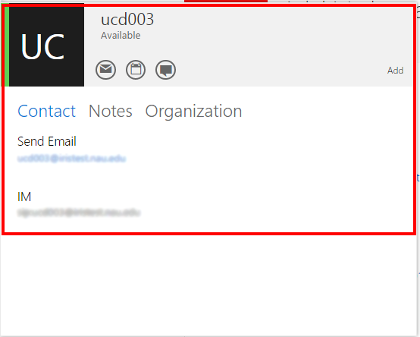
Contact Card Accordion Closed
Step 1
Select the menu button from the upper-left of the Outlook Web App. Select “People”.
Step 2
Type the name of the contact into the search bar. The contact will pop up. Select the Contact Card icon.
Step 3
The Contact Card will appear.
Managing contact lists
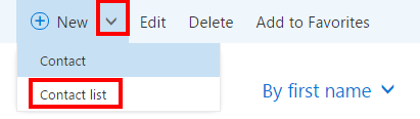
Creating a Contact List Accordion Closed
Step 1
Select the menu button from the upper-left of the Outlook Web App. Select “People”.

Step 2
Select the arrow beside the “New option, above contacts. Select “Contact List”.
Step 3
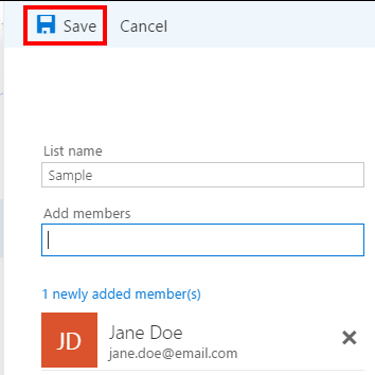
On the screen that appears, name your list in the “List Name” field. To search for people, type their names into the “Add Members” field. To add them, either select the name that appears or select “Search Directory” and find them there.
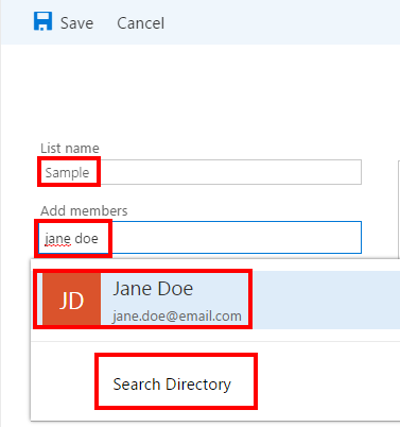
Step 4
Select “Save” .
Contact Lists – Adding Members Accordion Closed
Step 1
Select the menu button from the upper-left of the Outlook Web App. Select “People”.
Step 2
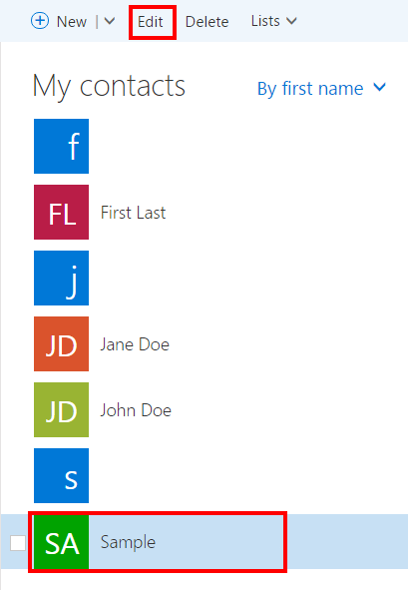
Select the Contact List you want to add members to. Select “Edit”.
Step 3
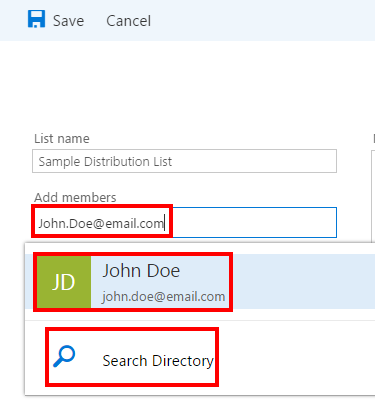
To search for people, type their names into the “Add Members” field. To add them, either select the name that appears or select “Search Directory” and find them there.
Step 4
Select “Save” .

Step 5
Select “Save” again .

Contact Lists – Removing Members Accordion Closed
Step 1
Select the menu button from the upper-left of the Outlook Web App. Select “People”.

Step 2
Select the Contact List you want to remove members from. Select “Edit”.
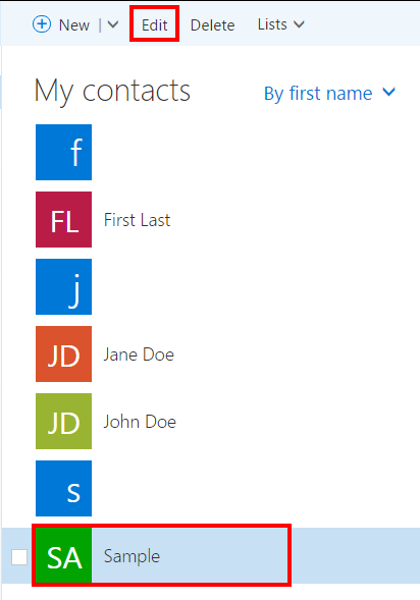
Step 3
On the screen that appears, select the “X” symbol that is beside a member’s name to delete that member from the list.
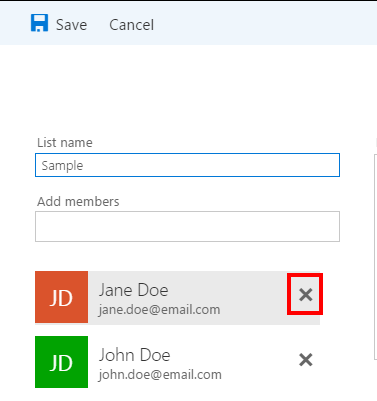
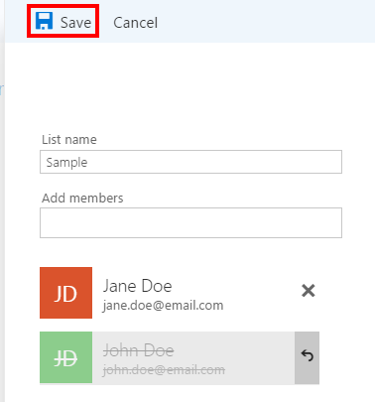
Step 4
Select “Save” .
Sending Email to Contact List Accordion Closed
Step 1
Select the menu button from the upper-left of the Outlook Web App. Select “People”.
Step 2
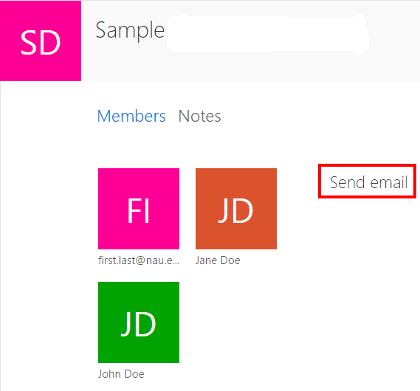
Select the Contact List you want to send an email to.
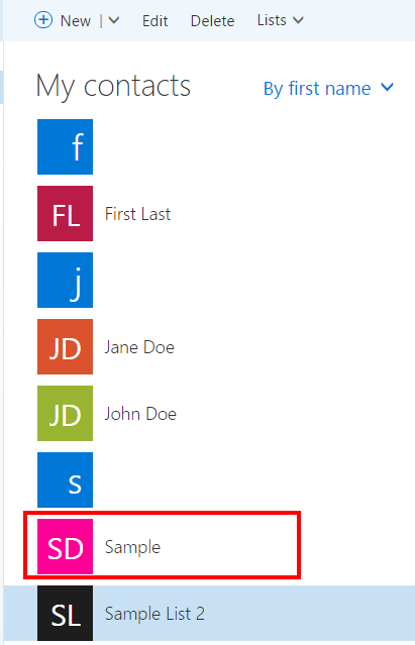
Step 3
To the right, on the info screen for the contact list, select “Send Email”.
Instant Messaging
Instant Messaging – Signing In Accordion Closed
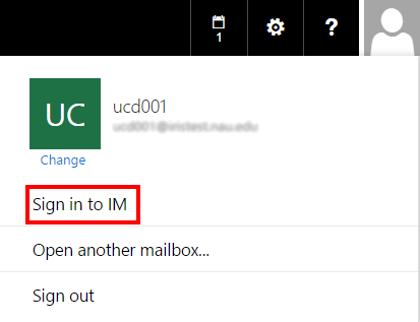
Step 1
Select the Profile Icon from the upper right of the screen.
![]()
Step 2
Select the “Sign in to IM” option.
Instant Messaging – Change Status Accordion Closed
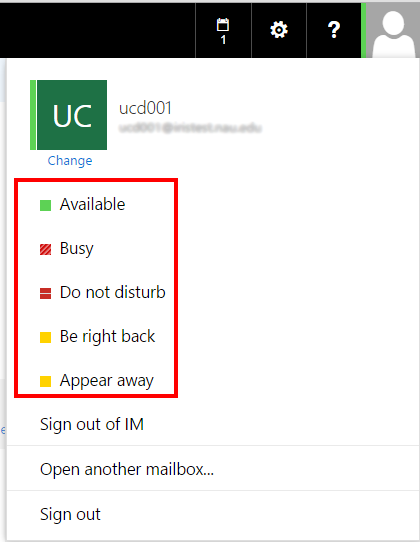
Step 1
Select the Profile Icon from the upper right of the screen.
![]()
Step 2
Select one of the five status options.
- Available
- Busy
- Do not disturb
- Be right back
- Appear away
Instant Messaging – Sending Message Accordion Closed
Step 1
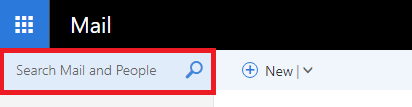
In the Mail section of OWA, select the search bar.
Step 2
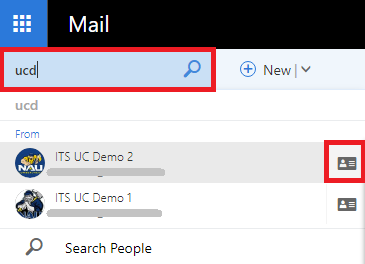
Type the name of the person you want to IM into the Search Bar. Do not hit enter or the magnifying glass. Select the Contact Card Icon.
Step 3
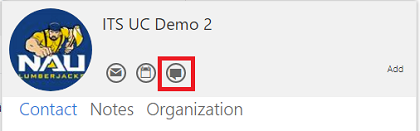
On the contact card, select the Instant Messaging icon.
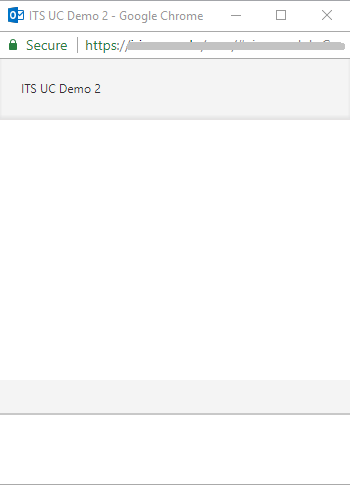
Step 4
Once the IM tab opens, type your message into the field at the bottom. Use the Enter Key to send your message.
Instant Messaging – Signing Out Accordion Closed
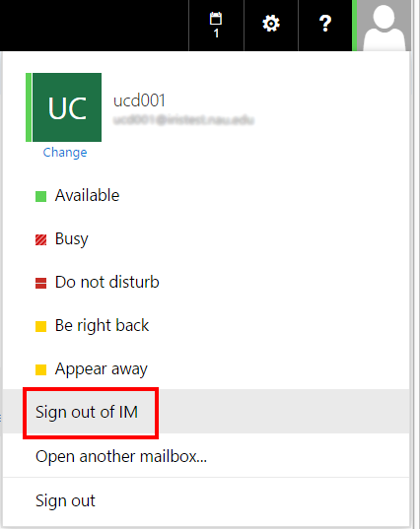
Step 1
Select the Profile Icon from the upper right of the screen.
![]()
Step 2
Select the “Sign out of IM” option.
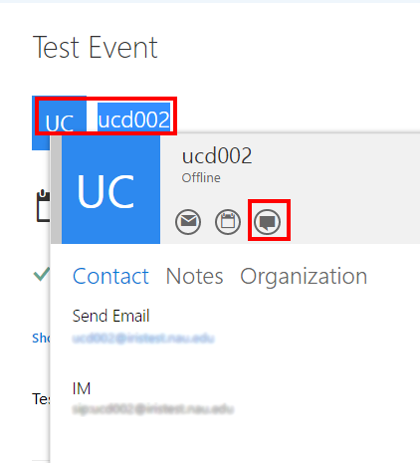
Instant Messaging from Email Accordion Closed
Step 1
Select the email from the person that you wish to Instant Message.
Step 2
Select the sender’s name at the top of the email. The Contact Card will appear. Select the Instant Messaging Symbol to send an Instant Message.