Tables
Overview Accordion Open
Consider using tables when…
- your content can be displayed as rows and columns, similar to an excel sheet
Don’t use table when..
- you have large paragraphs of content
- you need to display images
Data security reminder..
- Level 1 data can be used on all public accessible sites.
- Level 2 data can only be used on a site that is secured by CAS.
- No level 3 or level 4 data should be on any NAU WordPress site.
- For more information, visit Data Classification
How-to Accordion Closed
Create a new table
- Go to the TablePress feature on the left sidebar (if there is no TablePress on your site, contact the EASI Web Team)
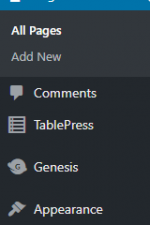
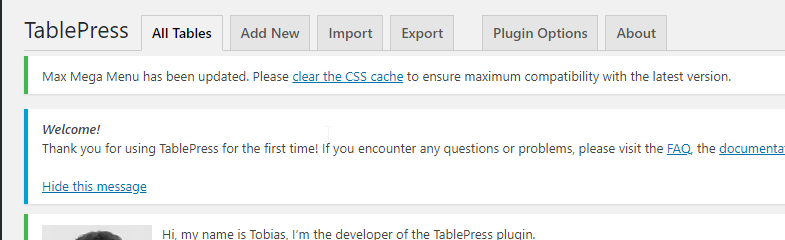
- Select “Add New” tab at the top
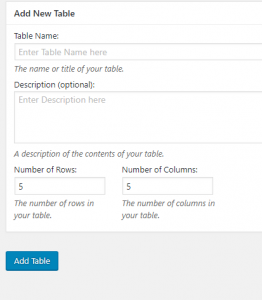
- Enter your table name and the number of desired rows and columns, click “Add Table”
- In each cell, add your content
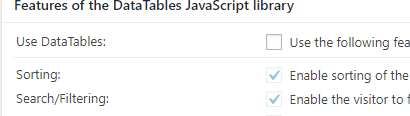
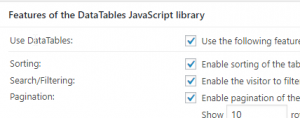
- Under “Features of the DataTables JavaScript library” deselect the first checkbox
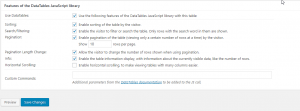
- Click “Save Changes”
Add a table to a page
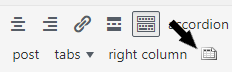
- In the page, click the table icon in the toolbar
- Find your table, click “Insert Shortcode”

- The shortcode for the table will then appear within your editor as such: [ table id=# /]
- To ensure that your table will work on different devices, we need to modify the shortcode. Add “responsive=scroll” right after your table id so it looks as such:
[ table id=# responsive=scroll /]
Add links within a table
- While holding the Shift key, click within the cell you would like to link, this will open the Advanced Editor
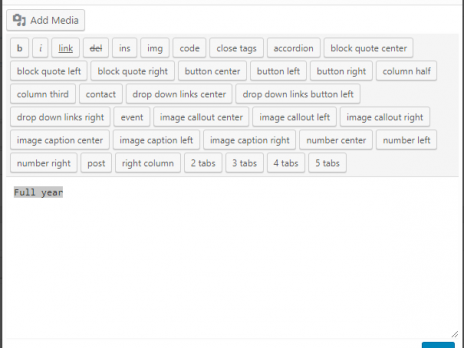
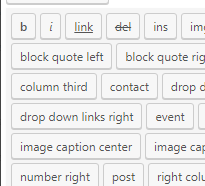
- Select the text you would like to link, in the top row of items select “link”
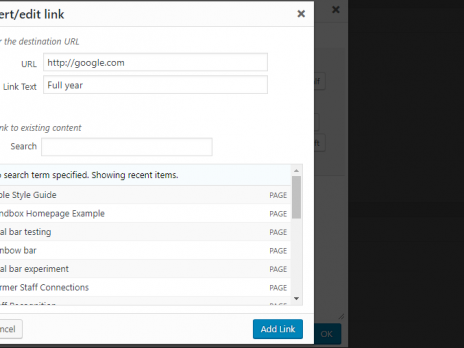
- Enter the URL, or search for a page within your site
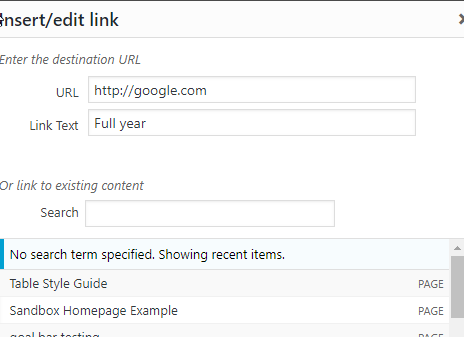
- Click “Add link”
- Click “OK”
Importing tables Accordion Closed
Import an Excel sheet
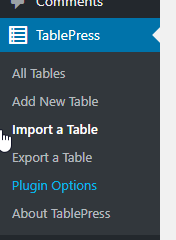
- Go to the TablePress feature on the left sidebar (if there is no TablePress on your site, contact WCM Support)
- Select “Import Table” from the left sidebar under TablePress
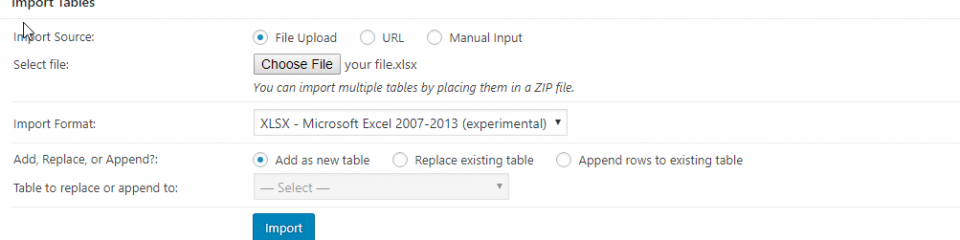
- Upload the excel file
- Select one from “Add, Replace, or Append?”
- Select “Import”, this will take you to the editing screen for the table
- Under “Features of the DataTables JavaScript library” deselect the first checkbox
- Click “Save Changes”
Import from URL
- Go to the TablePress feature on the left sidebar (if there is no TablePress on your site, contact WCM Support)
- Select “Import Table” from the left sidebar under TablePress
- Select “URL” for Import Source, enter your URL
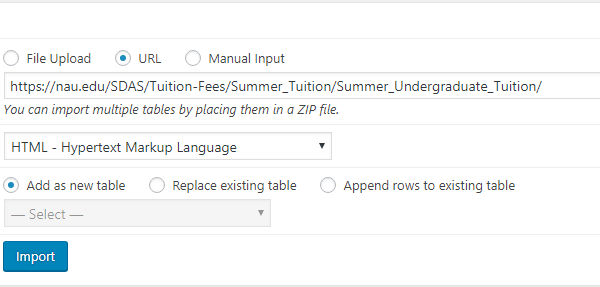
- Select one from “Add, Replace, or Append?”
- Select “Import”, this will take you to the editing screen for the table
- Under “Features of the DataTables JavaScript library” deselect the first checkbox
- Click “Save Changes”
Troubleshooting Accordion Closed
My table has extra features, including a search bar at the top 
In the editing screen for that table, under “Features of the DataTables JavaScript library” deselect the first checkbox
The top row of my table does not appear nicely
Please contact the EASI Web Team.
Example
| Business | Phone number | URL |
|---|---|---|
| 1-866-246-6453 | Google.com | |
| N/A | Facebook.com | |
| 415-222-9670 | Twitter.com | |
| Yahoo | 1-855-515-5559 | Yahoo.com |